Hooray, I’m finally back with some weekend crafting inspiration!
I discovered this project on It’s Always Autumn last year when I was looking for a DIY treat box tutorial for the loads of Christmas cookies I usually bake to hand out over the holidays. I’ve found that most of the favor or treat boxes that you find in stores usually don’t hold very much and I wanted a DIY option that I could make larger if I wanted. This project is super easy and is also a great way to use up extra cardstock or scrapbook paper that you may have on hand. Plus it’s just so much cuter than giving cookies on a paper plate!
Supplies:
- Cardstock paper
- Double stick tape
- Sheet protectors
- Wax paper
- Ribbon, twine, washi tape (and whatever else you want to dress up your boxes with)
- Cookies/treats
Tools:
- Paper cutter
- Scoring tool with scoring board
- Cricut (or other circle paper cutter)
- Scissors
Steps:
- Start with two sheets of cardstock that are 8 ½ x 8 ½ inches.
- Cut a circle in one of the pieces of cardstock for the top box. I used my Cricut Mini, but you can use whatever circle cutter you have.
- Use a scoring board to score 2 inches from all sides for the bottom box and score the next line over from all sides for the top box, making it just slightly bigger so that it will fit over the bottom box.
- Cut a 4-inch square from your sheet protector and tape it into the inside of the top box for the circle.
- Cut flaps as shown below.
- Form the box by creasing at your score marks.
- Fold down the corners and add your double stick tape.
- Adhere the corner flaps to the inside of the top and bottom flaps.
- Use wax paper to line the box.
- Fill with goodies and decorate as you wish!
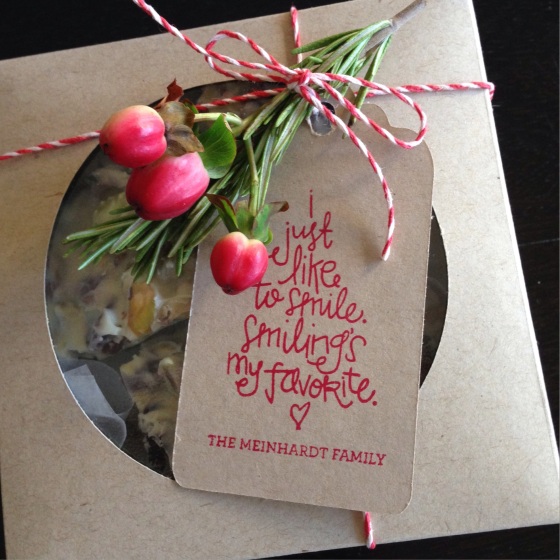
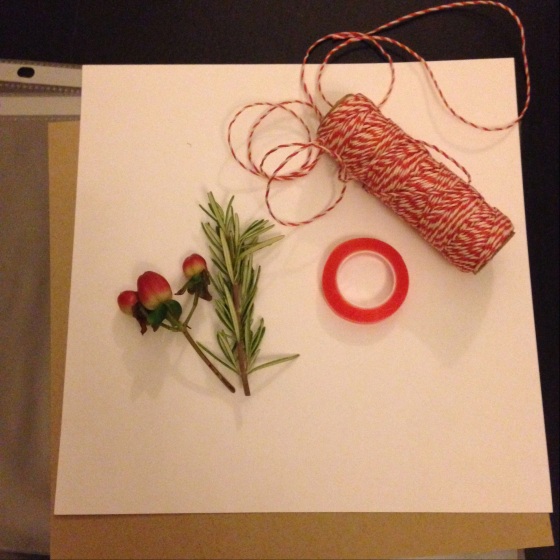
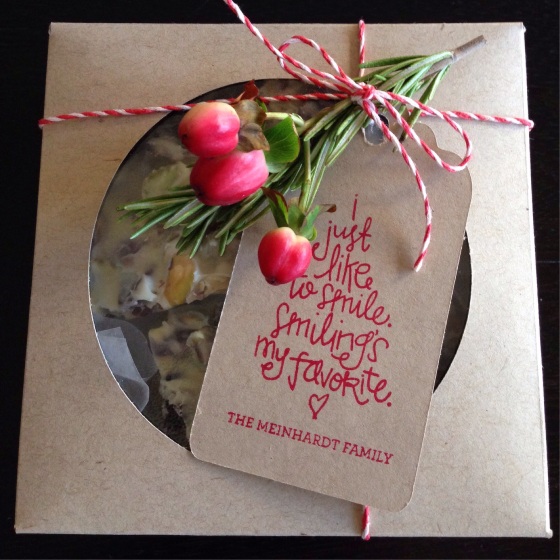
The final product is a 4.5-inch box that I was able to fit six medium size cookies into. For embellishments, I tied a sprig of rosemary (because I like the scent) and a few berries with some red twine. And the stamp is our Christmas stamp that I got from Amber Housley.
Note: I just made about 20 of these and they are a bit time consuming. If you’re doing a lot, like for wedding favors or welcome treats for out of town guests, I recommend having a crafting party (and I totally LOVE crafting parties, especially for weddings!) so that you can set up an assembly line of your bridal party, friends and family and crank these out faster.
And the most important part of course is the treats that you fill them with! These yummy White Chocolate Blueberry Oatmeal cookies are honestly my favorite cookies EVER.
Happy weekend, friends!


